Moving to Australia: The Complete Checklist and Guide (2026)


Moving to Australia is not one task, it is a sequence of them, spread across months before you even board a flight and weeks after you land. Most guides either drown you in a single giant checklist or only cover one piece of it – just the visa, or just the first week. This is the map: the four phases in order, what actually matters in each one, and a direct link to our full, detailed guide for every step that deserves its own deep dive.
If you already know exactly which step you’re stuck on, use the links below to jump straight to the detailed guide. If you’re at the very start and just trying to picture the whole journey, read straight through.
Quick Facts
The Four Phases of Moving to Australia
Everything below fits into one of four stages. Skip ahead to the one you’re actually in.
- Before you leave – visa, documents, insurance, flights and what to pack, all sorted from your home country.
- Arrival week – getting from the airport to your accommodation, and the handful of things you need to set up in your first few days.
- Your first month – moving from temporary to permanent accommodation, starting classes, and building the routines that make the place feel liveable.
- Settled – the point where Australia stops feeling like a checklist and starts feeling like where you live.
Phase 1: Before You Leave
This phase can run for months, and it is almost entirely paperwork and planning rather than anything physical. Get these sorted while you still have easy access to your home country’s documents, banks and government offices – it is far more painful to chase any of this once you have already left.
- Confirm your visa is granted and check the conditions attached to it, including your work-hour limits and any study requirements.
- Gather and organise your documents – passport, Confirmation of Enrolment, offer letters, academic transcripts, and anything your university’s own checklist asks for. See our complete documents checklist for Australian university applications if you have not finalised this yet.
- Buy Overseas Student Health Cover (OSHC) before you travel – it is a visa condition, not optional, and typically starts at around $500 a year for single cover. Our full OSHC guide covers exactly what is and is not included.
- Book initial accommodation for at least your first 1-2 weeks – student accommodation, a short-term homestay, or a hostel/hotel near your campus. Do not wait until you land to start looking; see the accommodation step in Phase 2 below for what comes next.
- Book flights with some buffer before your course start date, ideally enough time to recover from jet lag and get through your first week’s admin before classes begin.
- Sort your finances for the transition – check whether your home bank card works overseas, look into a travel card or multi-currency option, and bring enough Australian dollars (or an accessible card) to cover your first week or two before you can open a local account.
- Pack deliberately – see the packing section further down, since a surprising number of things are worth buying once you arrive rather than packing.
Start your document checklist early
Phase 2: Arrival Week
Your first week is short, jet-lagged, and has an unreasonable number of admin tasks packed into it. The good news is that most of it follows a fairly fixed order, and we have a dedicated step-by-step guide that covers this phase in full detail – what follows here is the summary.

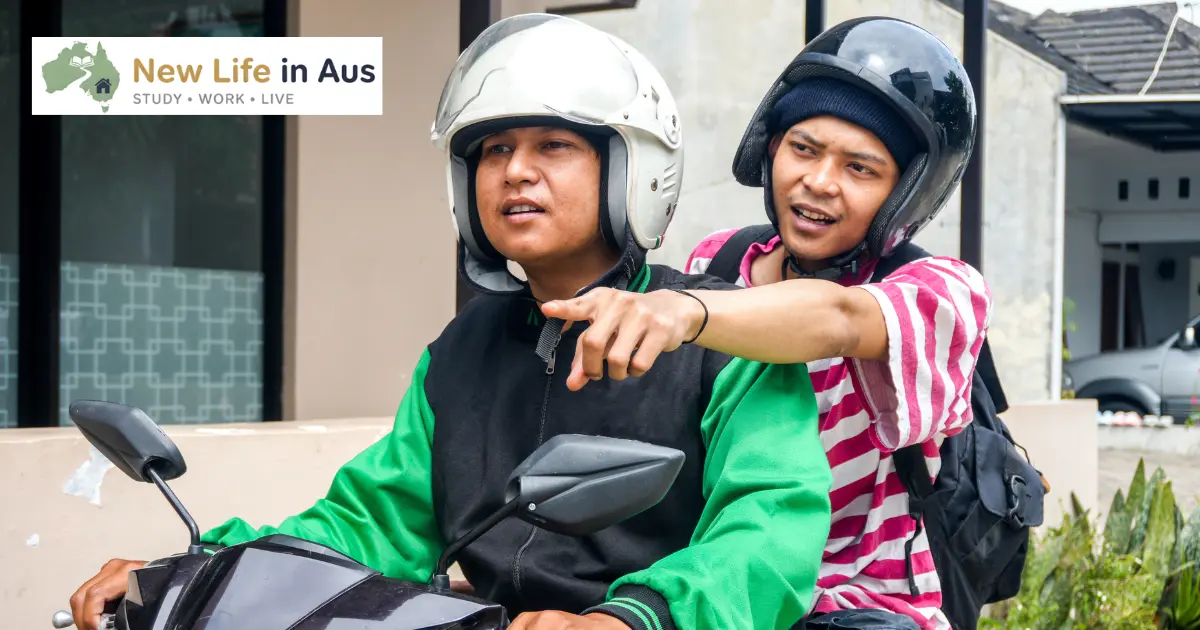
- Get from the airport to your accommodation. Compare train, bus, taxi and rideshare options before you land so you are not making that decision half-asleep at 6am – see our airport to city transport guide for real costs by city.
- Get a local SIM or eSIM as close to arrival as possible, since you will need Australian mobile coverage for almost everything else on this list. Compare SIM cards available at the airport or set up an eSIM before you even leave home.
- Open an Australian bank account – most major banks let you start the process online before you arrive and finish it in person or via ID verification once you land. Compare the best bank accounts for international students or read the step-by-step account opening guide.
- Apply for your Tax File Number (TFN) as soon as you have an address, since you cannot legally start paid work without one and it can take a couple of weeks to arrive. See our TFN application guide.
- Attend orientation if your university runs one – it is usually where you finalise enrolment, get your student ID, and meet the people you will actually see every day for the next few years.
For the exact day-by-day order to tackle all of this in, including which tasks genuinely need to happen first, see our full First Week Australia Checklist.
Phase 3: Your First Month
Once the arrival-week admin is done, the focus shifts from “surviving” to “settling.” This phase is less time-pressured but covers bigger decisions.

- Move from temporary to permanent accommodation if you started in a short-term place. This is its own process with its own risks (bonds, inspections, lease terms) – our Moving House Australia checklist covers it in full, including the standard 4-week bond convention used in most states.
- Settle into classes properly and get organised for the semester – our printable master checklist for your study journey is built for exactly this stage.
- Start looking for work if your visa conditions allow it, once your TFN has arrived and you understand your work-hour limits.
- Build a social routine. Loneliness is one of the most common early struggles for new arrivals – university clubs, orientation-week events and volunteering are the fastest ways through it. See our guides to making friends in Australia and getting the most out of O-Week and university clubs.
- Learn the basics of how things work locally – public transport concessions, where to shop on a budget, and general day-to-day norms. Our guide to Australian culture, slang and unwritten rules covers the social side of this.
Do not skip the bond and lease paperwork
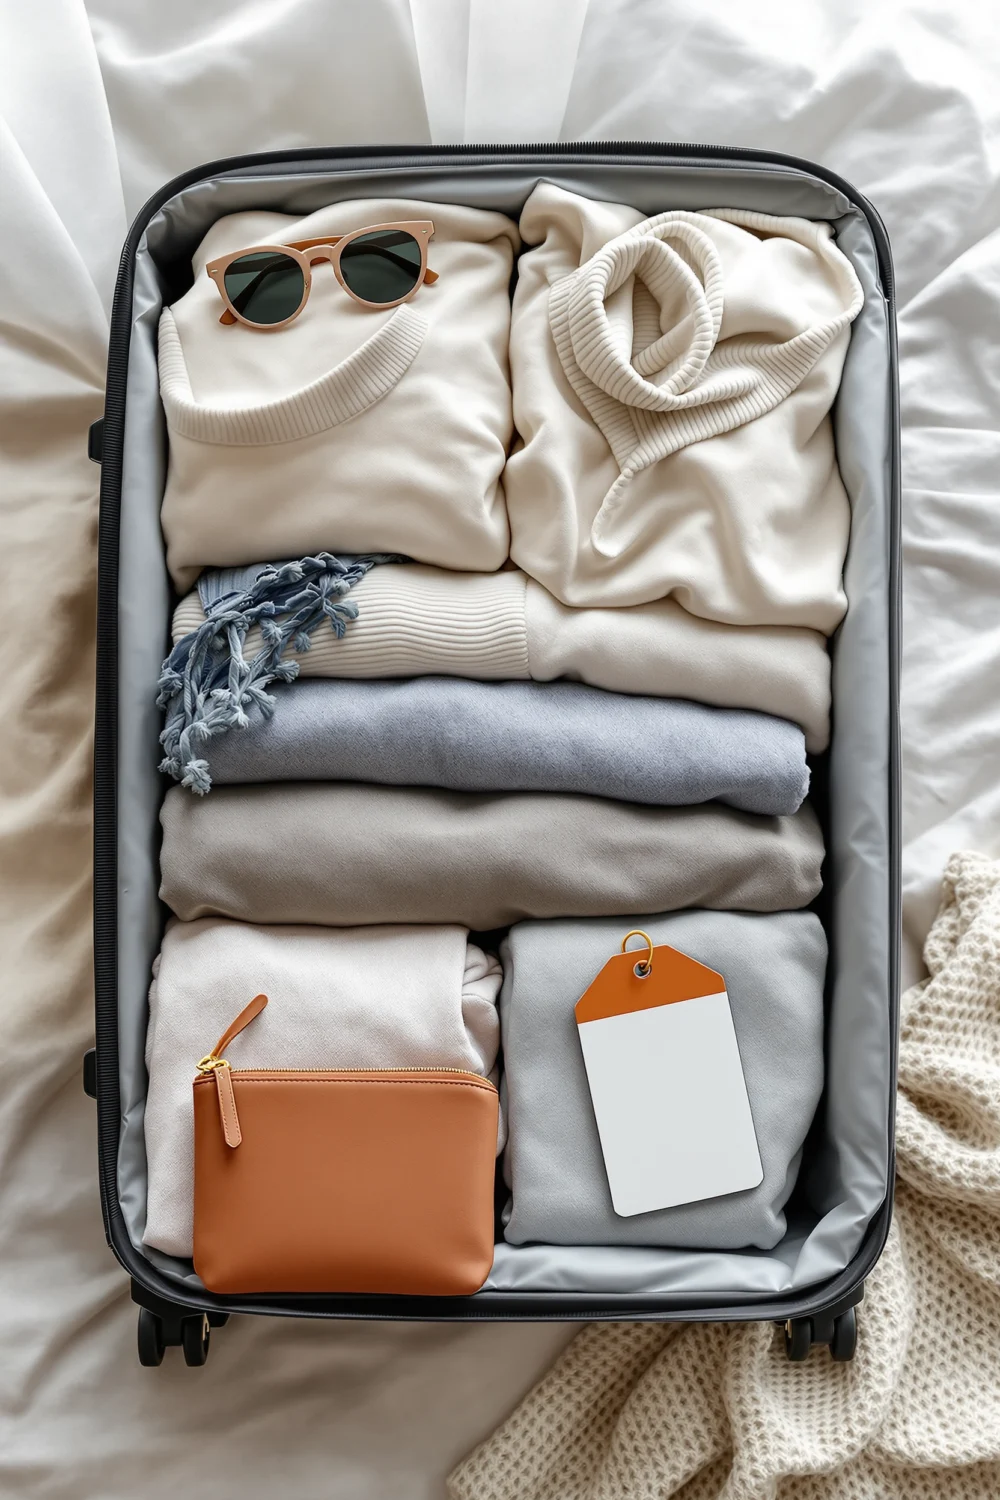
What to Pack (and What Genuinely Isn't Worth Bringing)
Luggage allowances are limited, and a lot of what people pack for Australia turns out to be either unnecessary or cheaper to just buy locally.
What's worth the suitcase space
Worth packing
- Original documents and certified copies (passport, offer letters, transcripts, birth certificate)
- A small supply of any prescription medication, with your prescription and a doctor's letter
- Weather-appropriate clothing for the season you are arriving into, not the one you are leaving
- Any electronics you already own, plus a universal power adaptor
- A couple of comfort items from home – photos, small keepsakes
Usually better bought locally
- Bulky bedding and towels – cheap and available everywhere in Australia
- Small kitchen appliances – most share houses and student accommodation already have basics, and voltage/plug differences make bringing your own impractical
- A large stock of toiletries – available in every supermarket, and heavy to carry
- Textbooks unless specifically required – many are available digitally or secondhand once enrolled
- Large amounts of home-currency cash – a card or transfer is safer and easier to manage
Australia's Seasons Run Opposite to the Northern Hemisphere
This catches a lot of new arrivals out, especially if you are packing based on the month back home rather than the month you will actually be in Australia. December, January and February are summer. June, July and August are winter. If you are arriving for a February intake, you are landing in the middle of summer even if you left a snowy home country – pack accordingly, and buy anything season-specific you are missing once you land rather than dragging a full winter wardrobe into 30-degree heat.
| Australian Season | Months | What to Expect |
|---|---|---|
| Summer | December – February | Hot across most of the country; humid in the tropical north |
| Autumn | March – May | Mild and generally the most comfortable stretch in the southern cities |
| Winter | June – August | Cool to cold in the south (Melbourne, Hobart, Canberra); mild in the north |
| Spring | September – November | Mild, warming up toward summer |
Realistic Costs to Budget For
Beyond tuition, a handful of setup costs land in your first few weeks specifically because you are moving, not because you are studying. OSHC (health cover) typically starts at roughly $500 a year for single cover and must be paid before your visa is finalised – see the full OSHC guide for exact current pricing and what it covers. Accommodation bonds in most states run to around 4 weeks’ rent, paid upfront and refundable at the end of your tenancy, on top of your first few weeks of rent itself. Add a local SIM plan, initial groceries and transport, and a working budget for your first month that is noticeably higher than a typical ongoing month is realistic – our broader money-saving tips guide is worth reading once the initial setup costs are behind you and you are moving into a normal budgeting rhythm.
Frequently asked questions
Ready for the detailed step-by-step version?
Our First Week Australia Checklist walks through the exact order to open your bank account, apply for your TFN, get connected and sort accommodation once you land.
Last verified: 30 August 2026. Costs such as OSHC premiums and bond amounts change over time and can vary by provider, state and individual circumstances – always confirm current figures directly with your insurer, bank, university or the Department of Home Affairs before relying on them for your own planning.
You May Also Like

National Police Check in Australia (2026): How to Apply, Cost and Which Type You Need

Working with Children Check in Australia (2026): State-by-State Guide